For this month on the origami forum (the english one), the challenge is
Mythology. There is, as mentioned, very little difference between "fantasy" and "mythology". However, I still think there is a good challenge behind it, because fantasy can simply be made up recently, where mythology is something from stories from long ago. You have to find a mythological creature, but can make up one of fantasy.
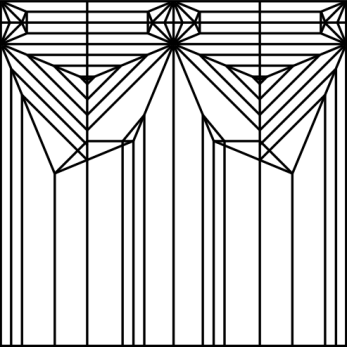
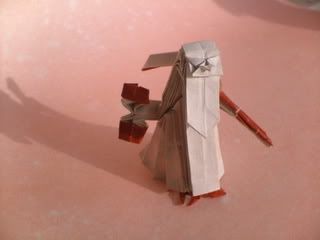
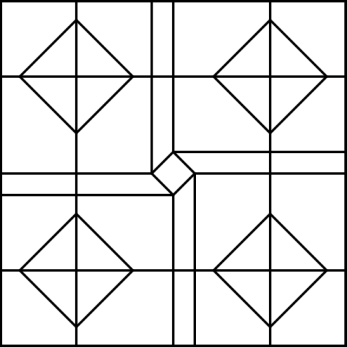
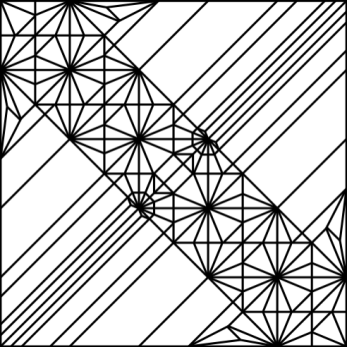
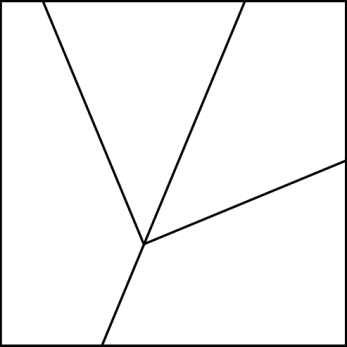
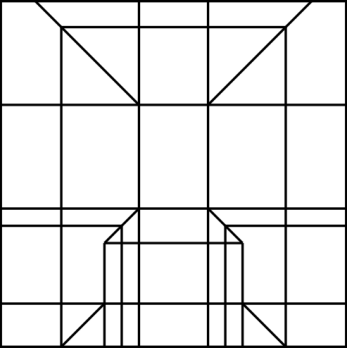
Anyway, enough about the differences. Here is the CP that I used. Note the "trianglepleating" used to make the thin arms.
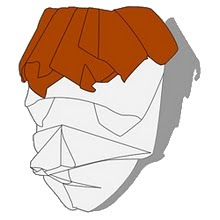
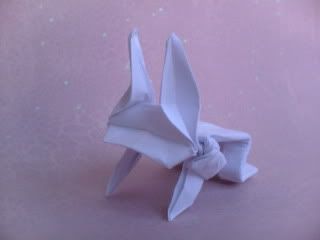
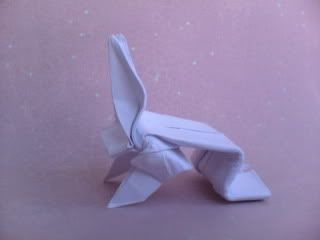
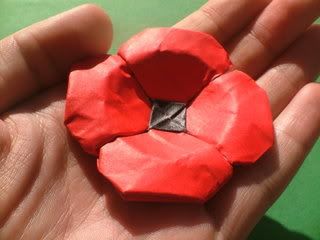
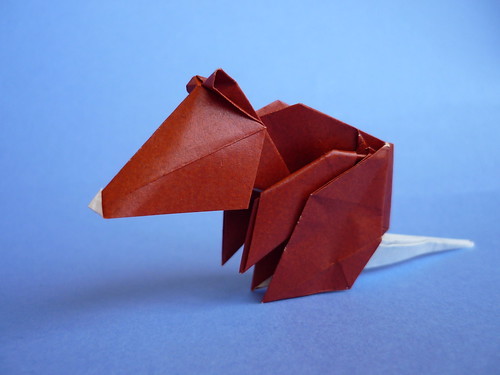
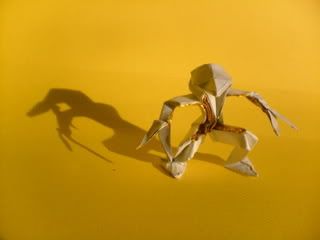
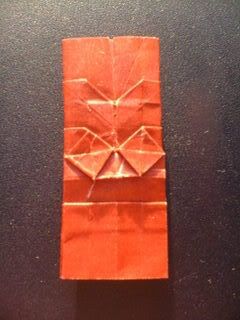
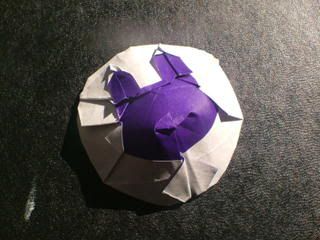
So what does it fold? I forgot to mention. While looking through Wikipedia's list of creatures from mythology, I found something called an "Amikiri", from Japanese mythology. It has a long plated body, a bird-like head and lobster-like claws. Its also known as a net cutter.
If you fold the CP right, you should end up with a base with the beak, arms with claws, and body. Then, with a little detail, you should end up with something like this:


 On the left is the hourglass, and the right is the scythe. The face is easy enough to fold, with two inside reverse folds after folding the middle triangle. The hour glass just needs to be spread on either end, and the ends folded over to make color changes. The scythe was my least favorite part of the model, because every time I folded it, the paper ripped. I guess that you need larger paper to make it correctly. Note that the feet are the same as the ones on HOJYO Takashi's Archangel Gabriel.
 Oh, and I have a slightly different look to my blog, in case you didn't notice yet.
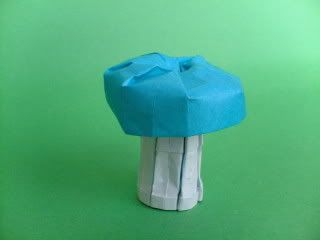
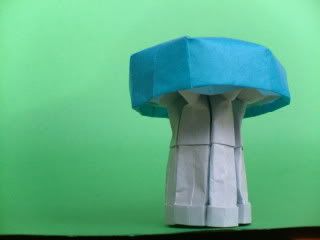
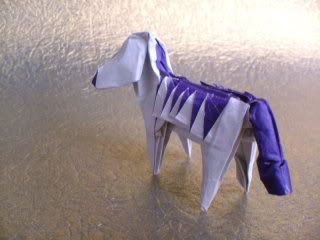
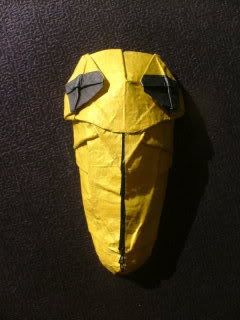
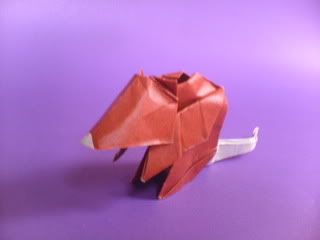
 It is quite a simple CP, and there is are a few more details that need to be added. The front legs need to be folded inwards and thinned, and the back section has to be thinned. with a bit of details of the ear and some rearranging of the head, you should end up with something like this:
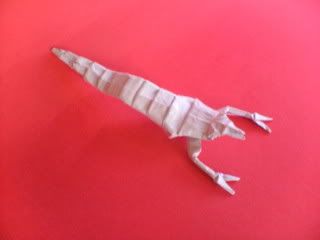
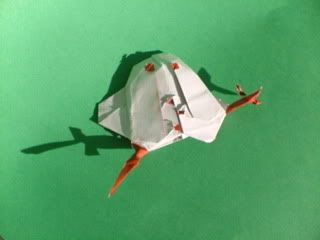
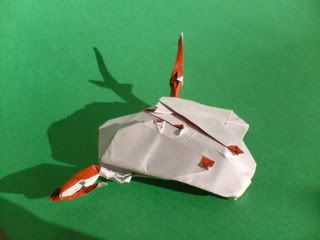
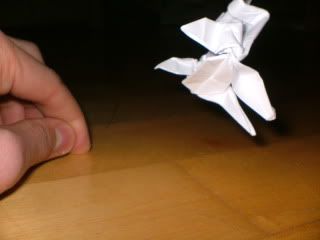
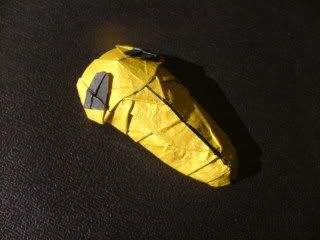
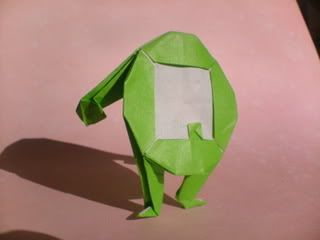
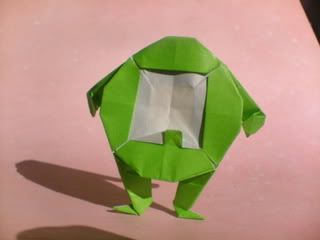
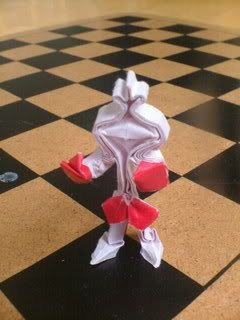
 And, of course, no action model would be complete without an action shot:

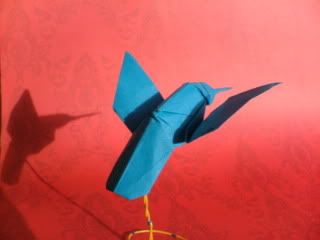
 The wings end up below the tail, and need to be folded forward and up. A little opening of the tail will make it more suited for a hummingbird, and the head simply needs to be thinned at the end to make the beak. Good luck!


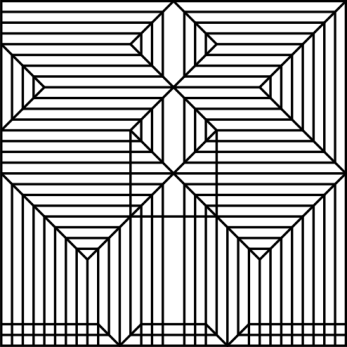
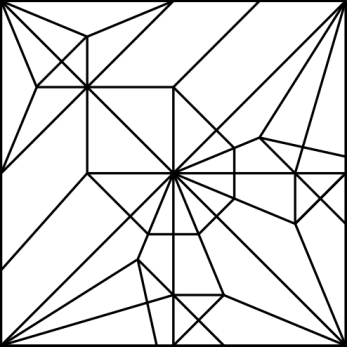
 This crease pattern just shows how to make a base with all of the legs, but no distinct head of tail. Either end can make either, and they aren't hard to make. The head has to be shortened up and pleated so that the points on either side can be formed. The abdomen and telson has to be thinner, and the telson (tail) can just be made one third the size of the abdomen. A mouth can also be made with the paper between the legs, by folding four 45 degree angle folds.

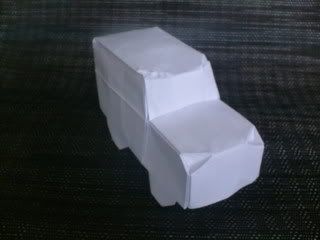
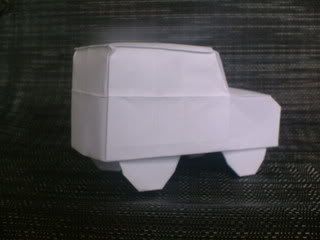
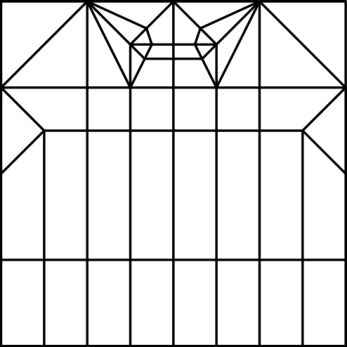
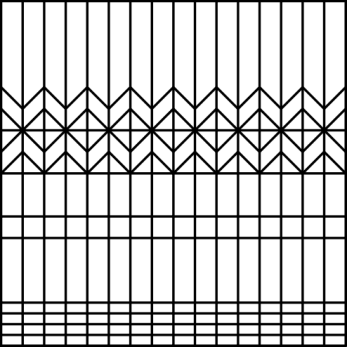
 As you can see, the model is made using simple pleats and locks. However, I didn't include some creases such as the wheels, which I made using 22.5° folds, as well as the doors and windows, which are simply creases.